


iOS Static TableView in UIViewController
TL;DR Version
Key takeaways:
- Don’t actually use a static TableView; use a dynamic one instead.
- Place your TableViewCells directly into the main view.
- Create strong IBOutlets for each cell (or use an IBOutletCollection).
- In viewDidLoad, remove the UITableViewCells from their superview.
- Set up AutoLayout constraints for the cells including constraints for their widths and heights.
- Implement UITableViewDataSource methods and have them use the IBOutlets to return the appropriate cells.
- You can now create IBOutlets and IBActions from views in the cell’s contents, create segues, etc, just as you would be able to for a static TableView in a UITableViewController.
Not-Long-Enough; Tell Me More Version
Apple’s recent release of XCode 5.1 resulted in a familiar but unexpected error for me:
Illegal Configuration - Static table views are only valid when embedded in UITableViewController instances.
My project had a “Settings” screen with two static TableViews, along with some other elements which made it undesirable for me to use a UITableViewController. I had received the error before but had been able to work around it thanks to [this StackOverflow post] (http://stackoverflow.com/questions/19110668/static-table-view-inside-uiviewcontroller-xcode-5). Unfortunately, XCode now detects that workaround which forced me to come up with a new one.
Quick note: I think the way Apple would prefer that developers do this is to create a ContainerView which embeds a TableViewController. Personally, I think this solution is kludgy and adds unnecessary complexity to your Storyboard and your ViewControllers.
Another quick note: The following has been tested with portrait mode only. Some tweaking may be required to support orientation changes since Auto-Layout constraints are required for this workaround.
As I’ve done in previous blog posts, I’ll walk through an example project. You may want to skip the “Initial Setup” step and try to apply it to your existing project if you just want to understand how it works.
Here’s the end result of the example app:
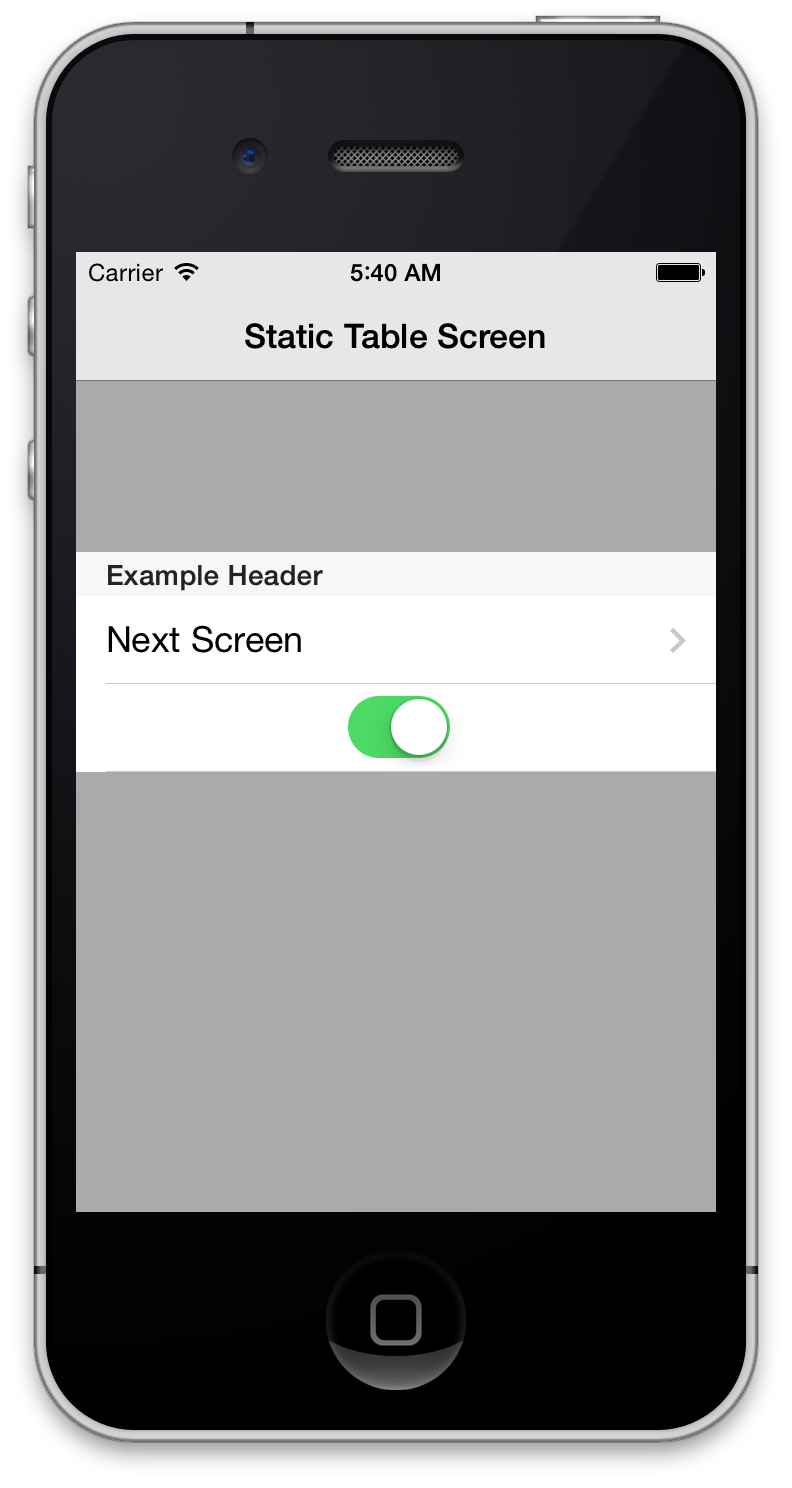
There are six parts:
Initial Setup
- Create a new project using the “Single View Application” template, and just choose iPhone (not iPad/universal).
- Drag a NavigationController onto the Storyboard.
- Make the NavigationController the Storyboard’s Initial Scene by moving the arrow from the left of the already-created ViewController, or by selecting the NavigationController and checking the “Is Initial View Controller” checkbox in the Attributes inspector.
- Delete the TableViewController, and control-drag from the NavigationController to the ViewController to make it the new rootViewController of the NavigationController. Give the ViewController’s navigationItem a title if you’d like.
- Drag a TableView object onto the ViewController. Make its height 110, which is the default height of a section header, plus the default height of two cells (22 + 44 + 44).
- Set the TableView’s Content Type to Static Cells in the Attributes inspector. You’ll note that the infamous build error appears, which is ok for now.
- In the Document Outline, select the Table View Section and give it the header “Example Header.” Change the number of rows to 2.
- The TableView contents may appear “shifted” down too far at this point. If so, select the ViewController and uncheck “Adjust Scroll View Insets” in the Attributes inspector.
- Select the first cell and, via the Attributes inspector, make it a Basic cell and give it the Disclosure indicator accessory. Change the “Title” text if you’d like, e.g. “Next Screen.”
- Drag a new ViewController into the Storyboard, control-drag from the Basic cell to the new ViewController, and create a push segue (Selection Segue). Give the new ViewController’s navigationItem a title if you’d like.
- For the second cell, drag a Switch object into it.
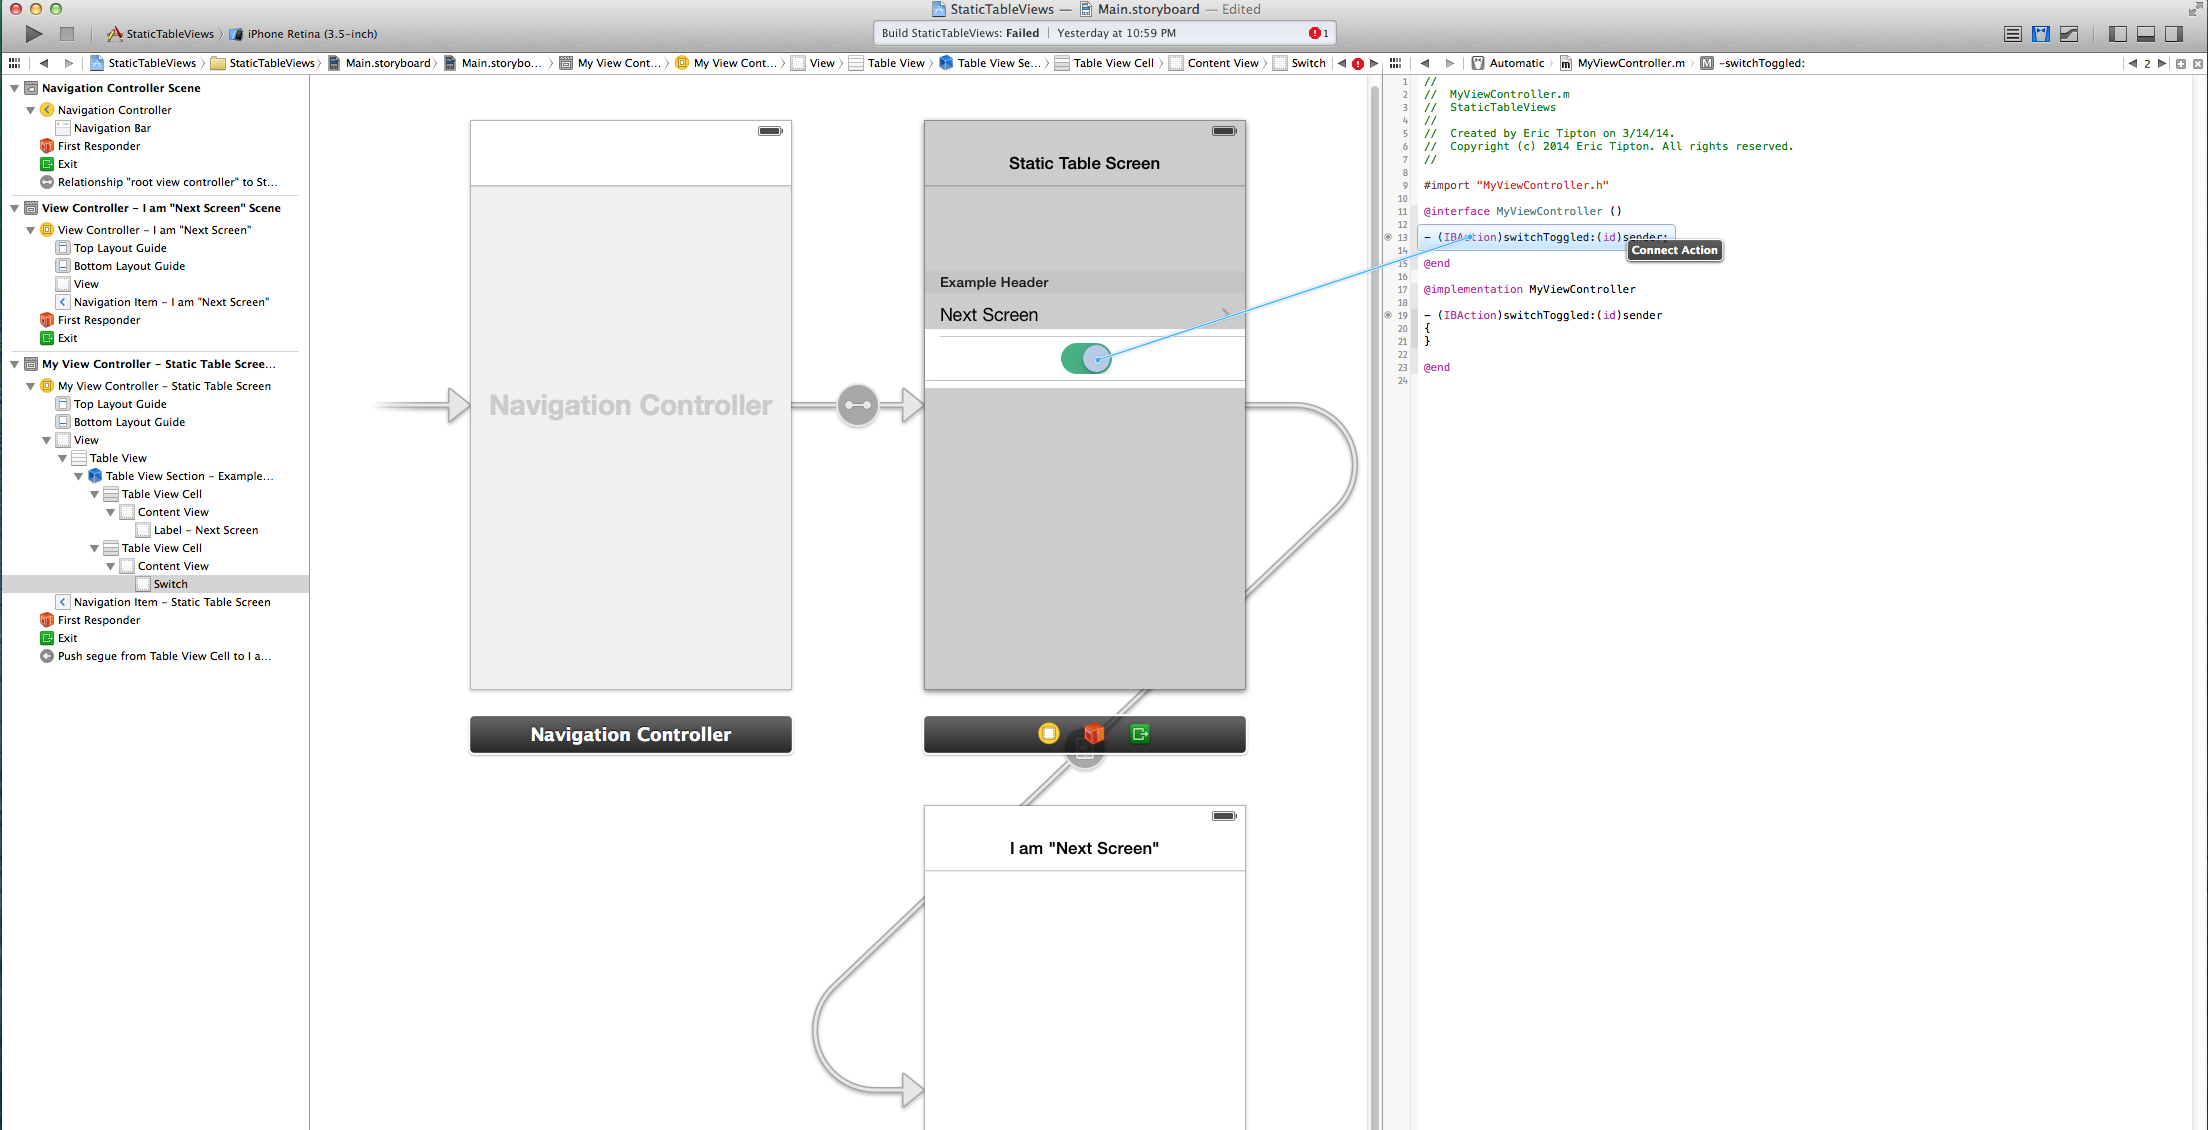
- Using the Assistant Editor, create an IBAction method for the switch to call when it is toggled.
At this point, your storyboard should look something like this:
Move Cells out of Table
So, now we know what we want our screen to look like and how we want it to behave. But how do we work around the build error? Let’s start by doing as it says, and stop using static tables…
- Drag each cell out of the table and directly onto to the main view (yes, XCode lets you do this).
- By default, the cells’ background colors will be clearColor. Set them both to whiteColor.
- The main view’s background color needs to be set also. To give a clear distinction from the cells, set it to lightGrayColor.
- Change the TableView’s Content Type to Dynamic Prototypes.
- If you’d like, reposition your TableViewCells so that they overlay the TableView. This way the Storyboard best represents what the app will look like at runtime. You will need to move them via the Size inspector so that you don’t re-imbed them into the TableView. Keep in mind that since we want a section header, they won’t overlay the TableView exactly.
Your storyboard should now look like this:
The build error should be gone, but of course if you run the app now, the TableView won’t actually populate and the cells won’t behave as expected.
Implement DataSource Methods
The problem is that the TableView has no dataSource and therefore doesn’t know what to display. So let’s give it what it needs!
- Using the Assistant Editor, create strong IBOutlets for both TableViewCells. It’s very important that they are
strong pointers.
- Control-drag from the TableView to the ViewController and set the ViewController as the TableView’s dataSource.
- Assuming the variable names “pushCell” and “toggleCell” you can now have your UIViewController implement the UITableViewDataSource protocol methods like so:
@interface MyViewController () <UITableViewDataSource>
...
@property (strong, nonatomic) IBOutlet UITableViewCell *pushCell;
@property (strong, nonatomic) IBOutlet UITableViewCell *toggleCell;
...
@end

@implementation MyViewController
...
- (NSInteger)numberOfSectionsInTableView:(UITableView *)tableView
{
    return 1;
}

- (NSInteger)tableView:(UITableView *)tableView numberOfRowsInSection:(NSInteger)section
{
    return 2;
}

- (NSString *)tableView:(UITableView *)tableView
    titleForHeaderInSection:(NSInteger)section
{
    return @"Example Header";
}

- (UITableViewCell *)tableView:(UITableView *)tableView
    cellForRowAtIndexPath:(NSIndexPath *)indexPath
{
    if (indexPath.row == 0) return self.pushCell;
    return self.toggleCell;
}
...
@end
If you run your app now, you end up with the following:
![]()
So far, so… well… still not good yet, huh?
Remove Cells from Superview
The problem is that, initially, the UITableViewCells are subviews of the ViewController’s view. The solution is to call “removeFromSuperview” to free them up to be used properly by the TableView:
- (void)viewDidLoad
{
    [super viewDidLoad];

    [self.pushCell removeFromSuperview];
    [self.toggleCell removeFromSuperview];
}
Now, if you run, you end up with…

Hmm, seems like we’re getting closer, but obviously there’s still an issue.
Add Auto-Layout Constraints
As it turns out, when views are moved, their auto-layout constraints play a major factor. So what we need to do is set layout constraints on the UITableViewCells in our Storyboard (keep reading before you start doing this though). The x and y positioning are only important to keep the compiler happy, since the width and height constraints are the ones that take effect once the cells are moved to the TableView.
However, to truly keep the compiler happy and free of warnings, there is one little “gotcha.” For some reason, if a TableViewCell’s y constraint isn’t 0, XCode will give a warning. To work around this:
- For each TableViewCell, drag over a View object to imbed it in (or click Editor->Embed In->View).
- Set these views’ widths and heights to be exactly the same as the cells, and set the cell’s x and y positions to both be 0 (in other words, the cell should completely fill the container view).
- Now set layout constraints, including setting the horiz and vert constraints for each cell to be 0 distance from its new container. This, in turn, will require that you set layout constraints on the container views also, which should be pretty easy and painless.
- Update your viewDidLoad code to instead remove the cell’s containers (which will still free up the cells to be used in the TableView as desired):
- (void)viewDidLoad
{
[super viewDidLoad];
[self.pushCell.superview removeFromSuperview];
[self.toggleCell.superview removeFromSuperview];
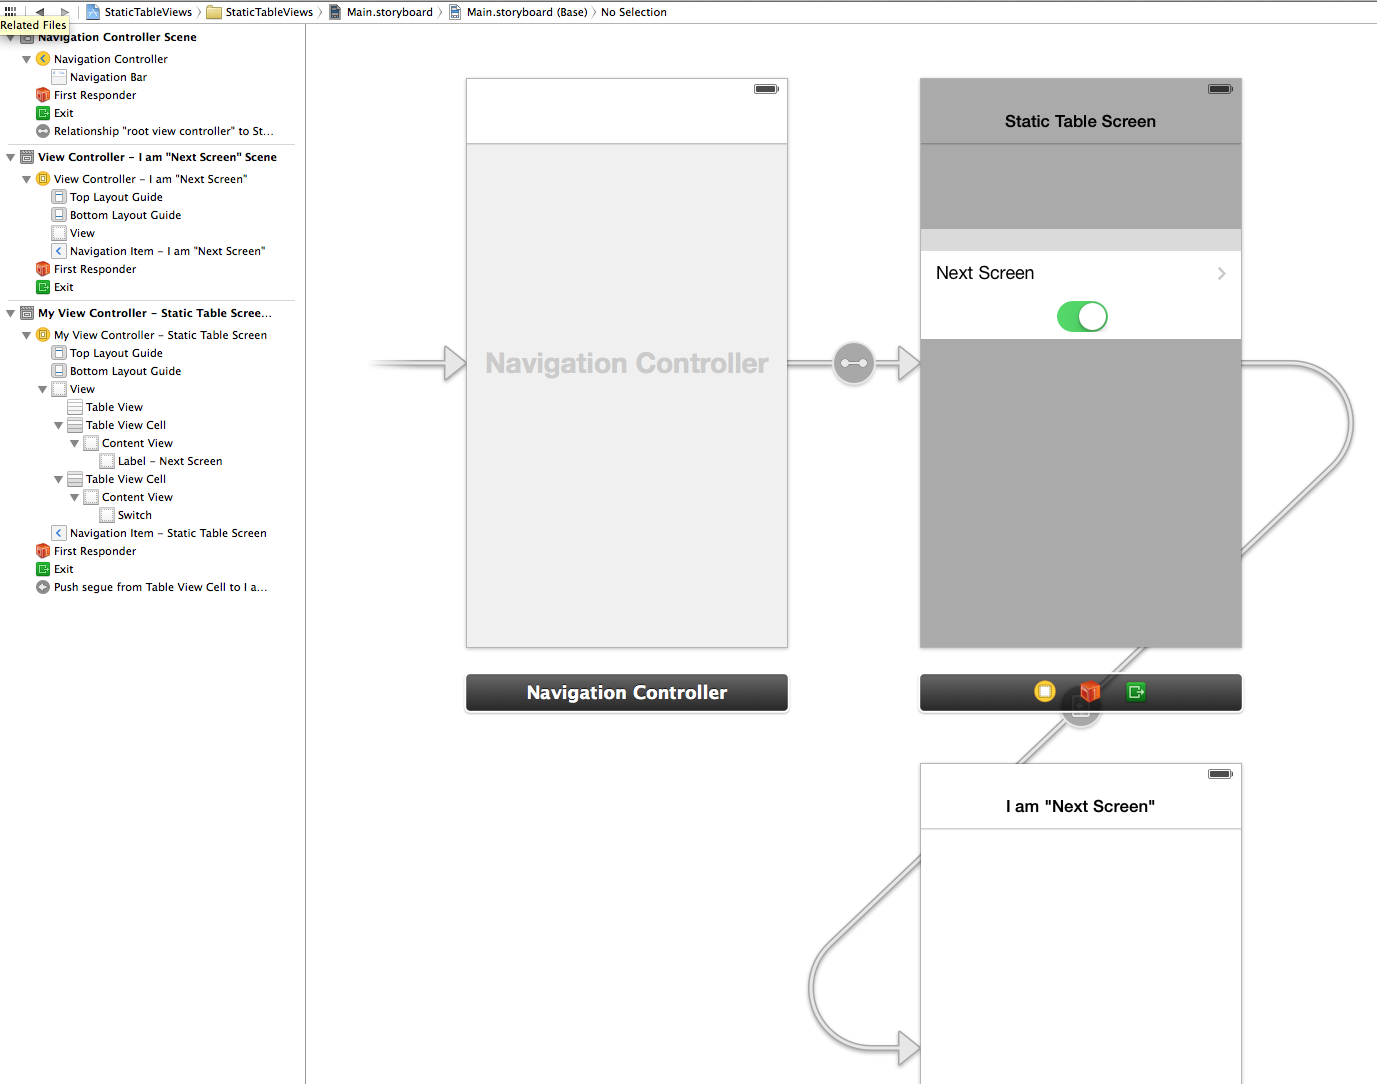
}OK, that’s all the storyboard changes needed – here’s what the Document Outline should look like:

Run your app now now and it should behave as expected, for the most part. Verify that the segue is intact by clicking the top cell. We’re almost done, just a couple more small changes…
Finishing Touches
There are two additional code changes you can make, one to show that the switch’s IBAction is still intact, and one to “deselect” cells that had previously been selected (UITableViewControllers add this functionality by default).
- Update toggle action:
- (IBAction)switchToggled:(id)sender
{
    NSLog(@"I've been toggled to: %i", ((UISwitch *)sender).on);
}- Create an IBOutlet for the table and add unselect code:
- (void)viewWillAppear:(BOOL)animated
{
    [super viewWillAppear:animated];

    [self.tableView deselectRowAtIndexPath:self.tableView.indexPathForSelectedRow
        animated:YES];
}
Phew! We’re done. Yes, it seems like a lot of work but I just really disliked the idea of using a ContainerView for this type of thing. I spent way too much time working on this, but hopefully others find it useful!
One last note: For those who really want to get crazy, you can use IBOutletCollections to clean up your code a bit. See one of the answers on the aforementioned [StackOverflow post] (http://stackoverflow.com/questions/19110668/static-table-view-inside-uiviewcontroller-xcode-5) for more details.